Building a Portfolio Website (My Plan)
My Plan to build a personal/portfolio website
A portfolio/personal website is crucial for a developer to portray your skills and all your projects done! In this article, I will talk about how I plan to build my portfolio/personal website!
Article Outline
- Planning the website
- Building the website
- My progress so far
- Conclusion
Planning the app
This planning stage process was originally taught by Maximilian Schwarzmüller
1. Coming up with the idea
My idea is to build a portfolio/personal website that shows the journey of my professional life starting from college. It will also be a gallery for showing the projects I have done, my education pathway, my experiences, and a link to my blog! This website is also a project for me to build a full-stack application using the MERN stack.
2. Create a design/sketch/wireframe
I will wireframe an overall design of my website, how it should look like, where the buttons should be, where does the button lead to, etc.
3. Plan Data Models (Data I'll work with/ data modeling)
In this phase, I will be creating the data model for the data to be stored in the database. It represents the objects and relations between each object.
4. Plan endpoints (API, backend) and pages (Single page application, frontend)
In this phase, I will determine what response will be sent back when the user sends a request to the server. I will also plan the pages needed for my single-page application as I am using React.
Building the website
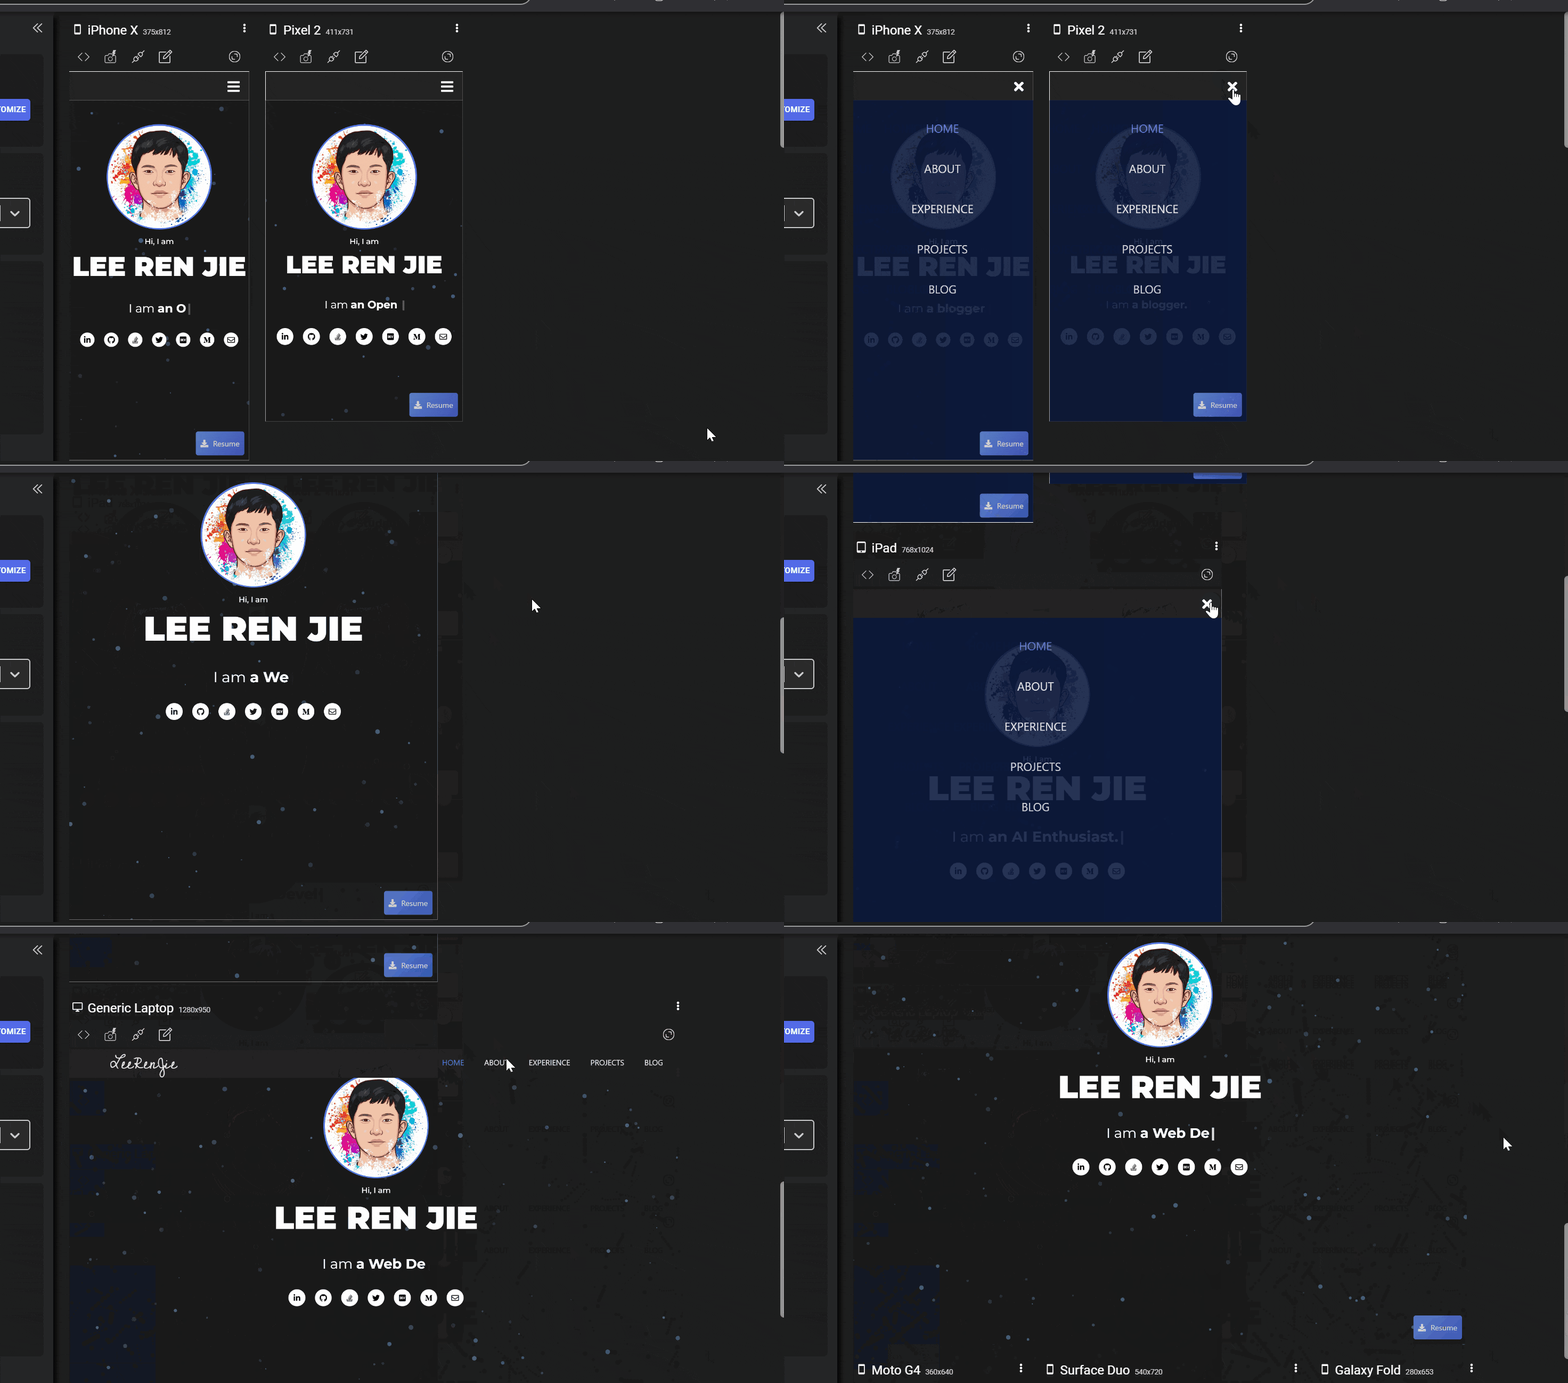
My website will be built for mobile-first to make sure it is 100% responsive. I test my website's responsiveness on different devices with responsively. Below will be the pages/components I plan to have on my personal website.
Navbar
Nav-links to all different pages and turns into an "open & close" menu when it reaches mobile size.Home page
Social handles, mailto link, downloadable resume, interactive background/componentsAbout page
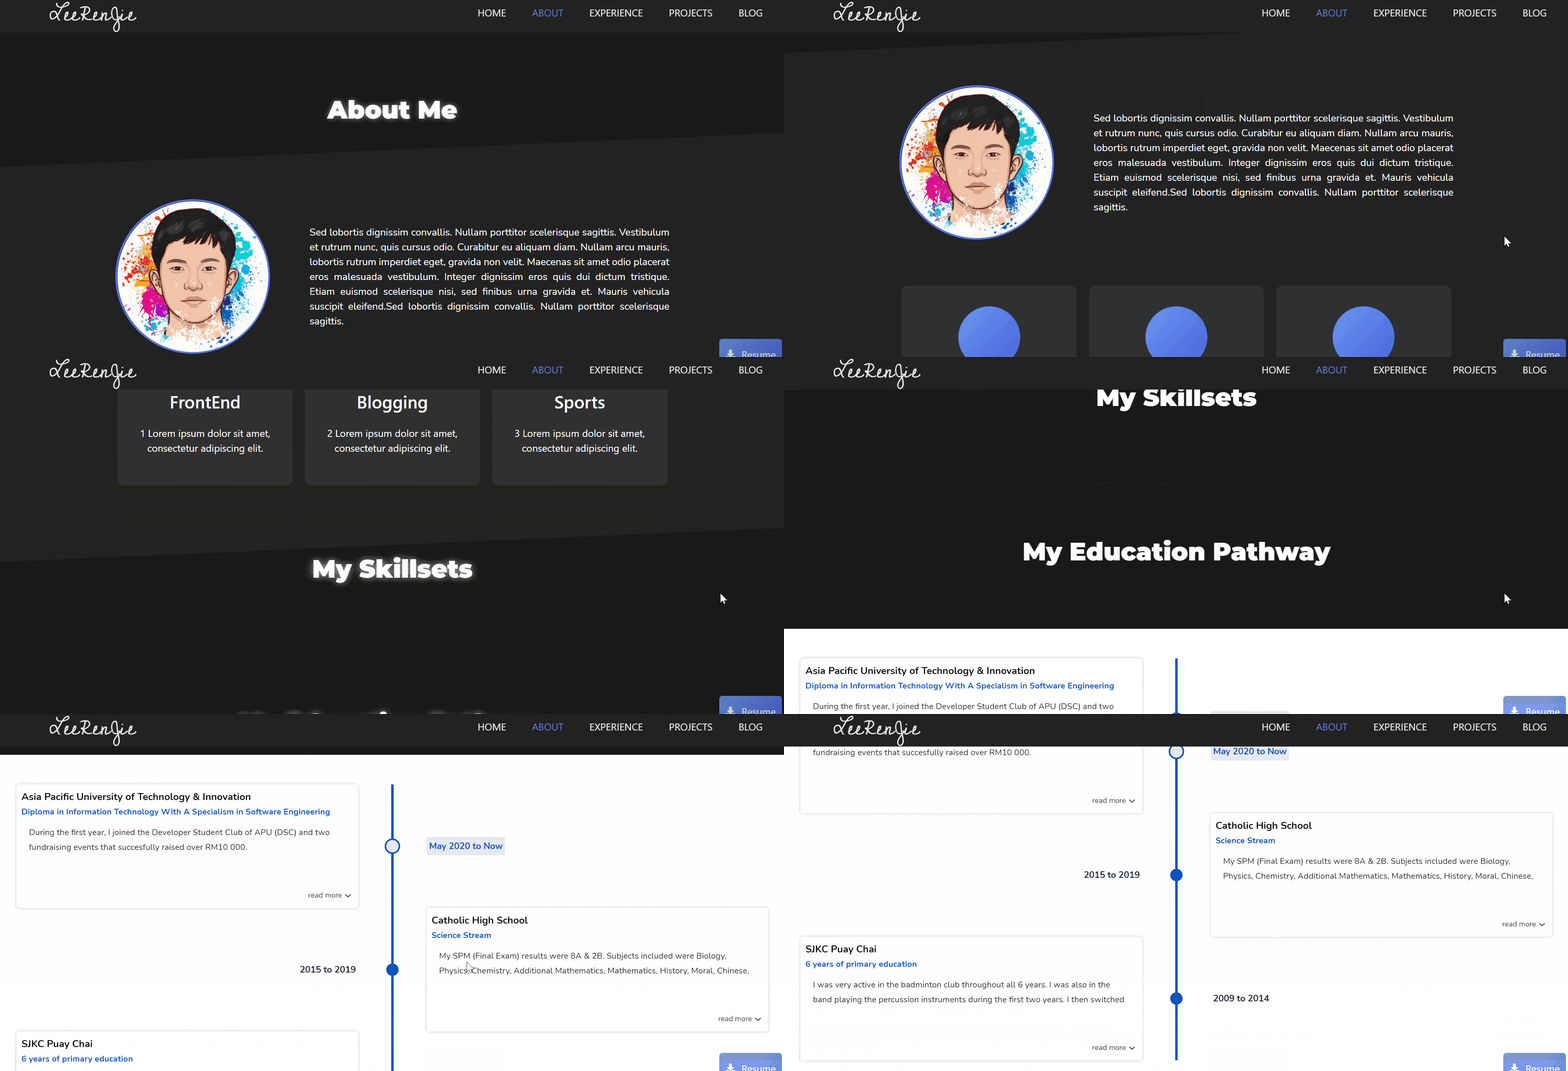
Detailed introduction of myself, my hobby, show my skillsets based on familiarity, all my experiences in College and University, roles I have in clubs, competitions I took part in from school, modules I took for each semester, etc.Experience page
Show volunteer work I have done, hackathons I took part in, open-source programs/global competitions I took part in, my side hustles, Internships, and in the future, full-time roles.Projects page
Link to all the projects I have done, a short description of the project, a search bar, a filter with technologies as tags. Each project can have tags added for each technology used.Blog page
A link to another website showing blogs that I wrote. Since I am using Hashnode for blogging, users will be redirected to be blog page on Hashnode. They will also have an option to go back to my personal website in the header section.
My progress so far
- Navbar
There are Nav-links to all different pages and turns into an "open & close" menu when it reaches to mobile size.

- Home page
My home page is basically done. I might edit some designs in the future but it has all the requirements I listed on top. Social handles, mailto link, downloadable resume, interactive background, interactive typewriter component.

- About page
I am halfway through building this page. So far, I have done the basic design for a detailed introduction of myself, my hobby, all my experiences in High School & College, roles I have in clubs, and modules I took for each semester.
Other pages are still empty and in progress. I will be editing this article as I build this website and turn this article into a full guide to building a personal website. Or, I might write another article who knows😆
Conclusion
Building this website all on my own without coding along with instructors had taught me many things. Whether it is frontend knowledge (CSS, React), Googling skills, or becoming a pull-stack developer😎 (kidding, I used libraries and their documentation).
Follow my journey on completing this website by following me on GitHub. You can also choose to view my source code here.
Thank you for reading!
This was a short story for my plan to build my own personal website! I hope anyone reading this can be inspired into creating a personal website of their own! It will be hard to not depend on others, but it is a must-walk route.
Leave a reaction to boost this article! Subscribe to my newsletter so you can get notified every time I post a new article! 😁
